Spring Cabbage Planting and Care Made Easy: A Step-by-Step Tutorial
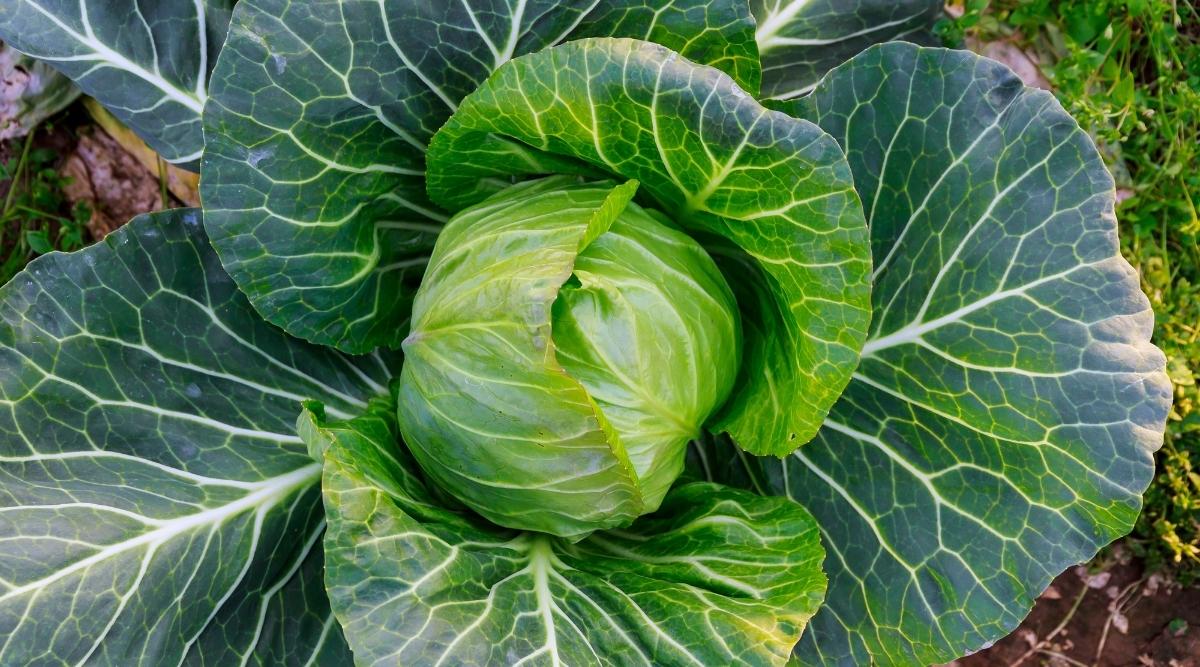
Table of Contents
What’s more exciting than growing delicious spring cabbage with a smooth texture right in your garden?
That’s right! Planting spring cabbages is an excellent idea as they are tasty, versatile, and can be quickly grown in 4-5 months. You can pot them indoors and outdoors alike. And these will be the first crop you can enjoy in spring if planted in the summer.
Unlike other cabbages, it has no head and has loose leaves. That’s why they are also known as Spring Greens. They are also smaller in size, more leafier. And, even without the crunchy or juiciness of regular cabbage, they are stronger and sweeter than the rest.
Spring Greens are a part of the Cabbage and Mustard Family (Brassicaceae). They might be tough to grow, but a hardy vegetable full of antioxidants and nutrients would be a great addition to your nursery.
3 Ways to Plant Spring Greens
Cabbages are heavy feeders. They require a frequent flow of water and nutrients till they are fully grown. Use rich and fertile soil and mix some good-quality manure or compost into it. Also, check for weeds in the ground, and remove them if found.
There are three ways to plant spring greens: grow them indoors or outdoors or transplant them from existing plants.
1. Growing Spring Greens Indoors
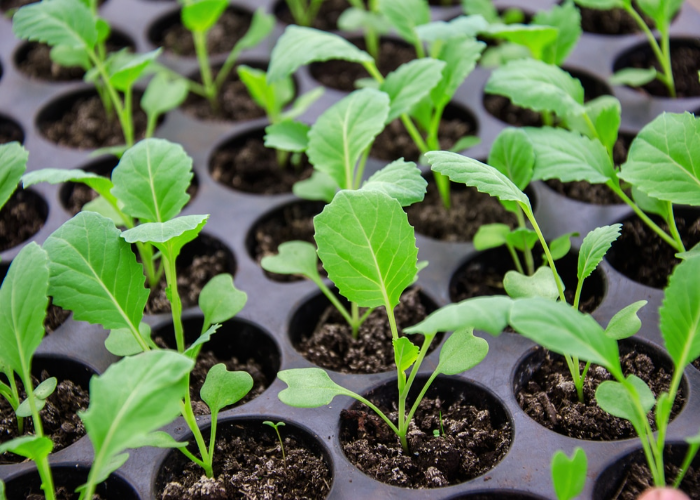
Sowing spring cabbage inside is an intelligent choice as it reduces the chance of catching diseases or pests. Planting the seedlings in modular trays reduces the chances of root disturbance. So, scatter them 2cm deep in the soil, and place them in a greenhouse to germinate.
The best time to breed them is in spring or summer. They can also be seeded throughout the season if provided extra care from the intense heat.
After five weeks, you can move them outside for their final growing stage, as they may require spacing. Don’t sow too many seeds in a single tray. Instead, sow smaller batches to avoid glutes.
2. Growing Spring Greens Outdoors
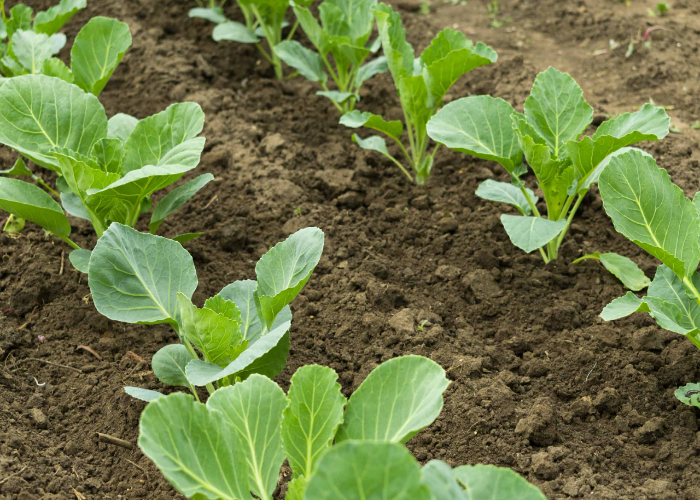
Late summer, between July-August, is a convenient time to plant spring greens outside. Prior to planting them, harden off the plant for a week. Then, plant the seeds 2 cm deep and 20-30 cm apart in the ground. It will allow them to take up the space and have enough room to grow.
Traditionally cabbages are best grown in the ground. So, if you don’t live in a windy place filled with pests and bugs, you can directly plant the cabbage seeds in the soil.
Don’t forget to cover the buds with insect-proof mesh or fleeces from slugs and snails. If required, thin out the seedlings to 10 cm apart so that they can grow stronger.
3. Transplanting of Spring Greens
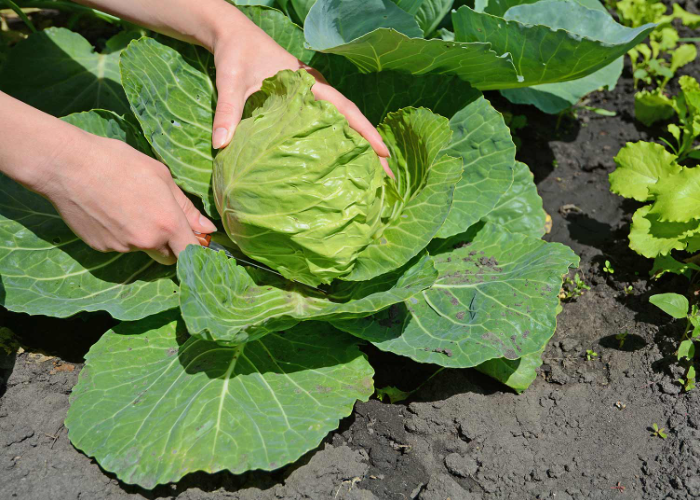
Young cabbages growing inside seedbeds should be moved when they develop 5-6 true leaves. Or if they have grown up to 6 inches tall, typically in early spring. Prepare the soil with rich compost a few weeks before transplanting. And water the plant well enough before moving day.
If your plant was grown inside, harden it off before replanting. Now, lift the plant carefully, not harming their roots, and set them in their new space. Ensure the lowest leaves touch the soil’s surface, then firm it with your hands.
Creating up to 4 inches of spacing between the plants is necessary. Later on in February or March, dig another 1-inch space for thinning the plant. Do regular watering for the younger plants till they get stronger.
How to Care Spring Cabbage
Spring Cabbage is generally easy to care for. Provide them with well-manured soil, some spacing, adequate watering and lots of sunlight.
Proper Watering
Soil should be left moist, not oversoaked. So, water the plant appropriately to prevent the seedlings from drying out. Once the plant has been established, you can reduce the watering to one time every week or two.
Thinning Seedlings
Thin out the fresher plants regularly after one month of germination. Removing the weaker one is best if two seeds have sprouted from a single cell. Simply pinch it out with your nails or use small scissors. But don’t pull them out to avoid damaging the roots.
Crop Protection
Steer clear of the weeds using an oscillating hoe. Hoeing plants frequently promote their growth and make more nutrients available to them. If you find any yellow or wilted leaves, remove them immediately or else they will spread to your crop.
Applying Mulches and Fertilizers
Administering a thick layer of mulch around the spring greens can help keep the soil moisturized and suppress weeds. To boost growth and encourage hearting, use a nitrogen-rich feed in early spring.
Protection from Cold Temperatures
Even so, the spring greens are hardy, protecting them from harsher winter nights is mandatory. Use horticultural fleece to shield them. It will protect them from the cold and prevent birds from descending on your plant.
Leggy Seedlings
Spring Cabbage planted indoors risks becoming leggy or skinny. It could happen because the light levels are not sufficient enough for the growth of your plant. So, either take them outside or change the settings indoors.
Type of Spring Cabbages to Grow
The following hybrids are pretty easy to grow, especially for beginners. These species hold the basic properties of spring greens and are surely worth your time.
1. Spring Hero
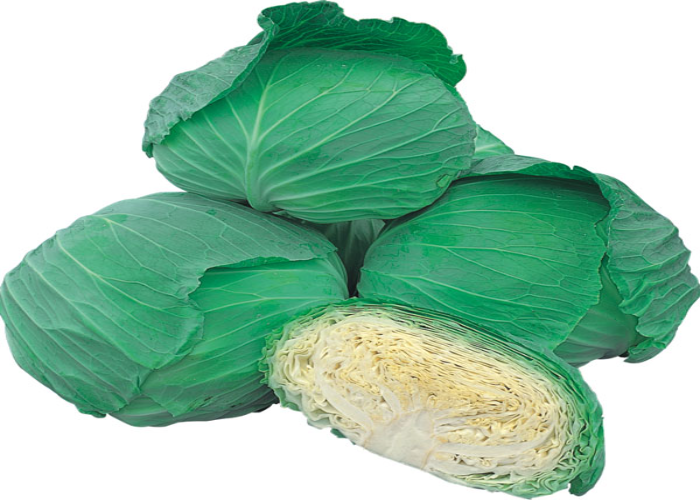
It is one of the newest spring cabbage family additions. It is more similar to a regular cabbage as it has a solid head with a crispy, cream-coloured heart. And, unlike spring greens, you don’t have to consume them immediately after harvesting. But, you do sow them in the same months as spring greens, i.e. August and reap them in early spring.
2. Duncan
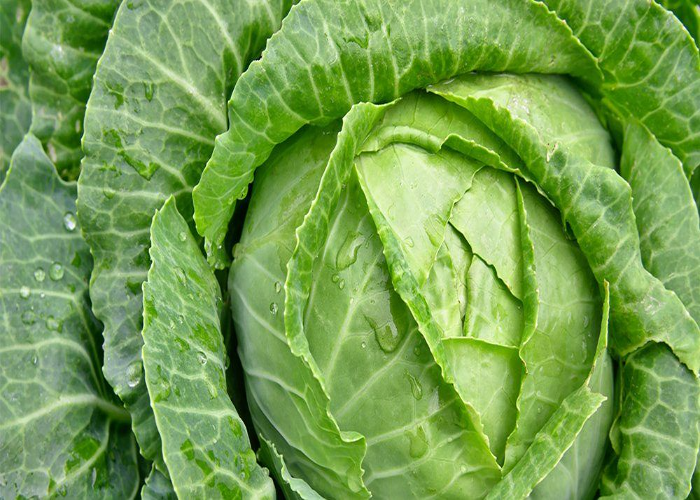
Duncan is quite a versatile and fast-growing cabbage, unlike other spring greens. Growing Duncan requires much less space, making it the perfect cabbage for indoor planting. It forms a traditional heart-shaped cabbage with a compact head. You can harvest it in March to have soft spring greens or wait till June to get full-hearted ones.
3. Advantage
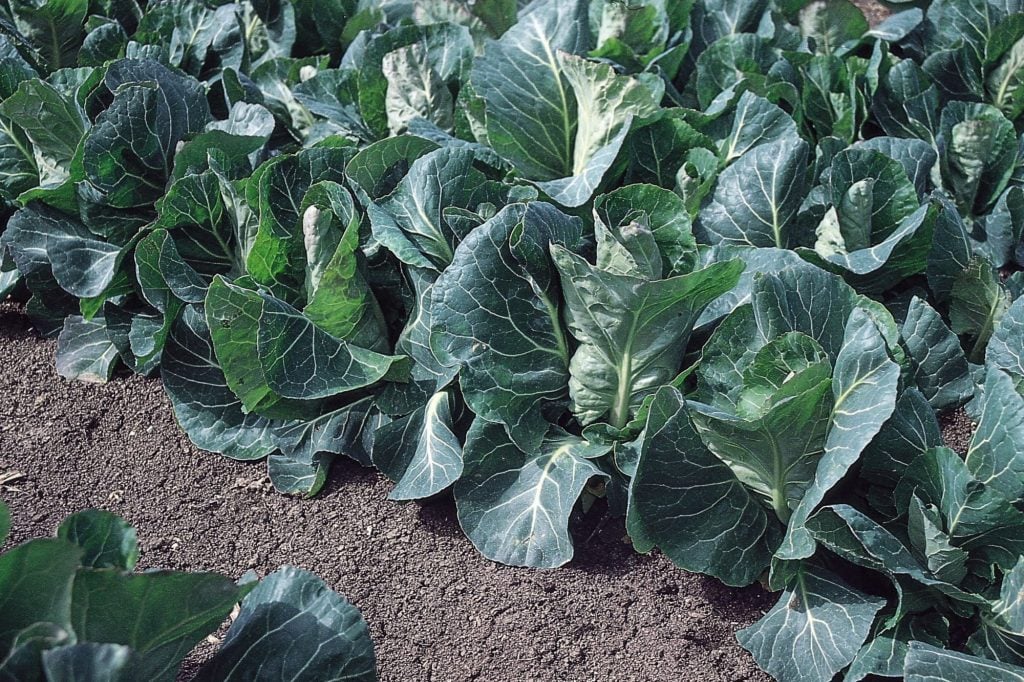
The advantage is also a fresher species, just like Spring Hero. Because of its flexibility in the sowing and reaping seasons, you can grow them as Spring, Autumn, or Summer Cabbage. When they mature, they form a heart and become thicker. Being a newer species makes them susceptible to diseases and bugs, so keep them safe.
4. Hispi
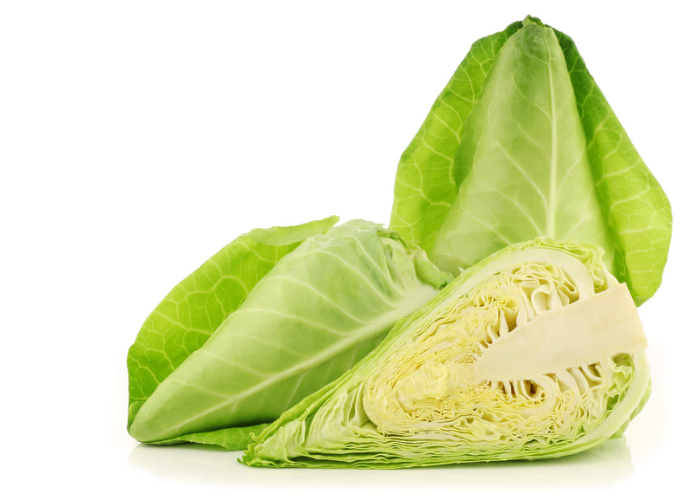
Hispi is not really a spring green, as you can plant them throughout the year long. But, it is an exceptional variety that beats the spring cabbage’s growing period. It gets ready for harvesting earlier than spring greens. Hispi is bolt-resistant, strong, has a conical shape and tastes sweet.
5. Pixie
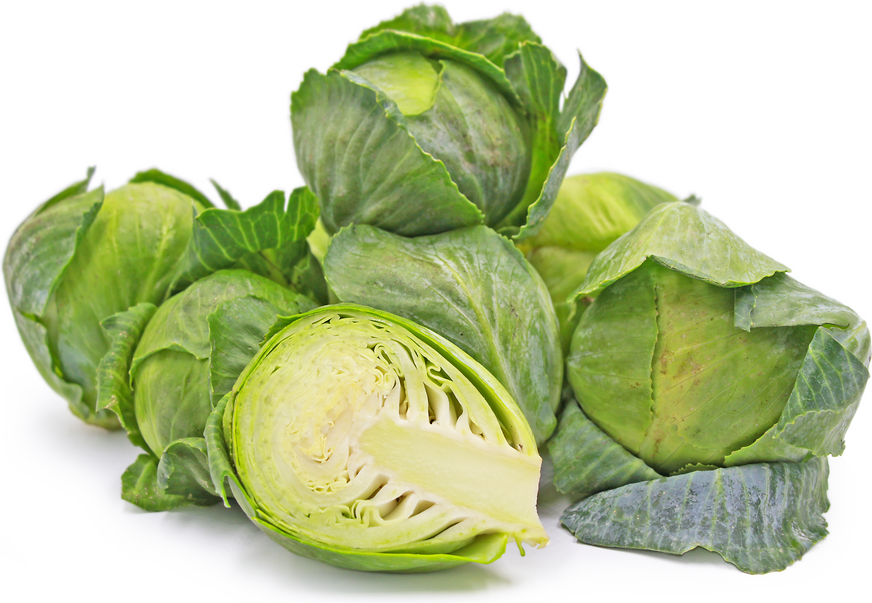
Pixie is an older species which is smaller than other spring cabbages. It has a moderate greenish shade, is crunchy, and resembles a little baby cabbage. They become ready to reap in about 8-10 weeks after sowing. If not taken out on time, Pixies will grow sturdier and more compact-headed.
6. Durham Early
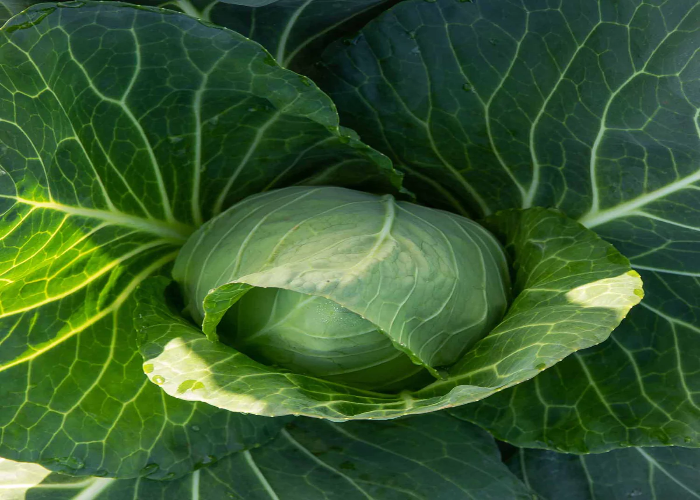
It is a British heritage species from the mid-nineteenth century. It forms a traditional cone shape with textured dark green leaves. Durham Early is well tried and tested variety that comes with a juicy taste. Like other spring greens, plant them in spring and reap the sweet, tender cabbages till February end.
7. Winter Jewel
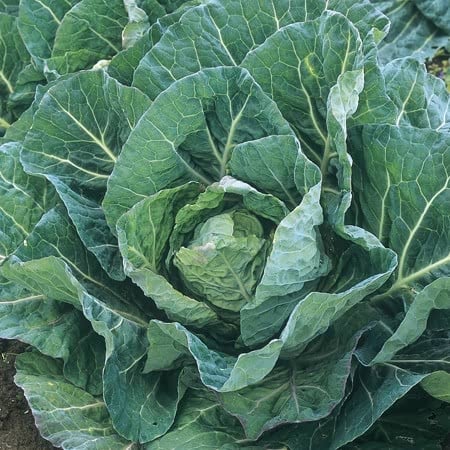
Unlike spring greens, winter jewel is a flexible species that can be bred earlier. However, it is a Spring Cabbage that can be sowed in autumn and will be ready till spring comes. It has dark, leafy cabbages, but if left to mature, it will form a thicker head. Also, this species is disease-proof, so you don’t have to worry about infestations.
8. Wheelers Imperial
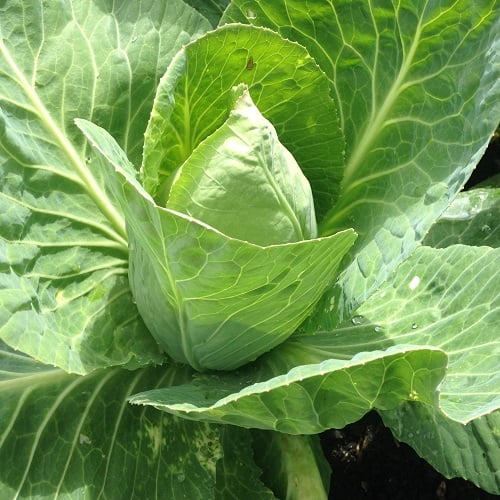
Like Durham Early, Wheelers Imperial is also a British heritage variety from the mid-eighteens. It is also a tried and trusted species with dark green leaves and a firm head. It forms conical heart shapes that are solid but tender at the same time. You can sow them in spring, and they will be ready to be harvested in autumn.
Harvesting and Preserving Cabbages
Once your sowed cabbages have formed a solid head and desired size, they are ready to be harvested. Reaping them one by one along the row is a good idea to start with. However, don’t leave the matured spring greens for longer, as they will deteriorate.
- Begin by cutting through the stem just below the base with a sharp knife. The cut will produce a smaller cabbage called a stump. Also, take out all the wilted or yellow leaves for fresher growth.
- Dig out the stump, take it indoors and check for any diseases. Remove all the outer leaves and store the head in the refrigerator.
- Cut the cabbage’s head, leaving branches and roots intact to get two crops. It will allow planting to grow new heads and keep pinching them until 3-4 heads remain.
- Eating cabbages fresh is considered the best to get all the mouth-watering flavours. But you can also store them for up to a week. Keep them in a plastic bag and put them inside the fridge.
You can enjoy a scrumptious meal as cabbages obviously being the main ingredient. They are great in stir-fries or can be used in soups or stews. Not only will your meal be tastier, but it will be full of vitamins, minerals, antioxidants and fibre.
Protection from Bugs and Infections
Spring Cabbage are undoubtedly hardy vegetables, but they will likely encounter disease and pests. To keep them protected, try out these easy tricks.
Flea Beetles
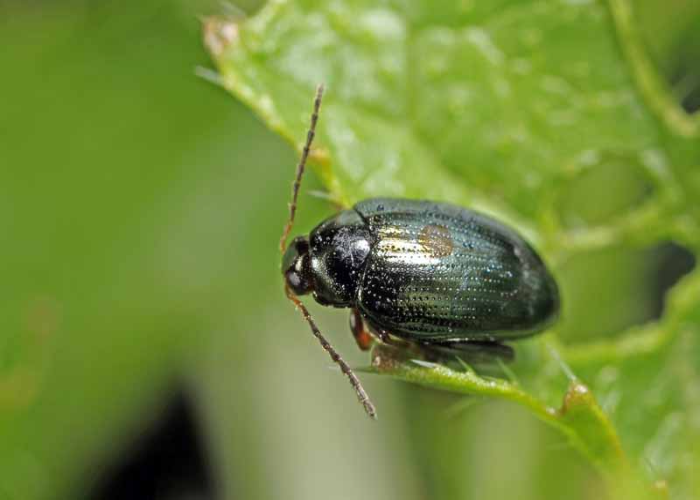
Flea beetles are little insects making holes in your plant’s leaves. When the foliage starts becoming active, so do these pests. Not only can they destroy your whole plant, but they can transmit the disease to other plants as well. Use floating row covers over younger seedlings. Spraying neem oil, approved for organic use, helps kill the beetles from infesting your plant.
Cabbage Loopers
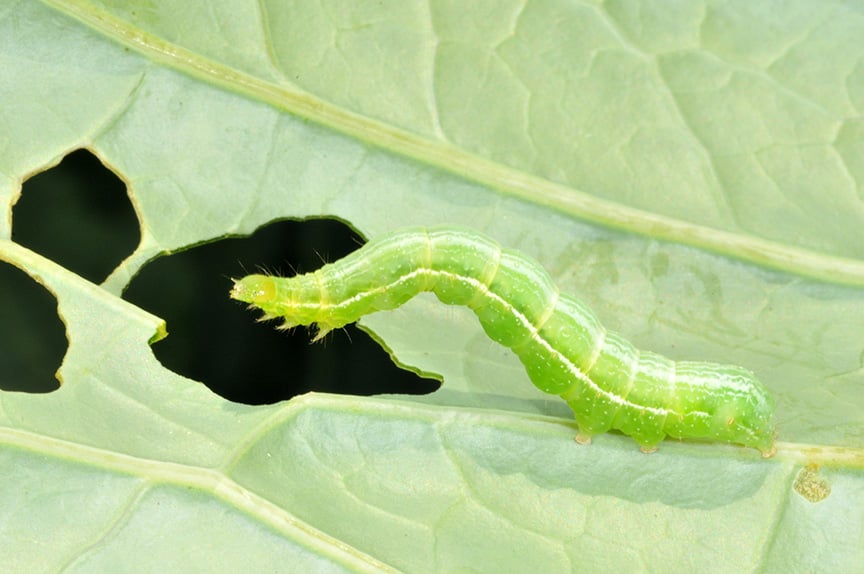
These little pests appear during the growing season of spring greens. They eat their way through the leaves, making plants damaged and weak. Be it caterpillars, larvas or moths, quickly do a plant sweep and remove these bugs immediately. You can use floating row covers to keep moths from landing on them. Also, apply food-grade diatomaceous earth to the infected plants.
Slugs and Snails
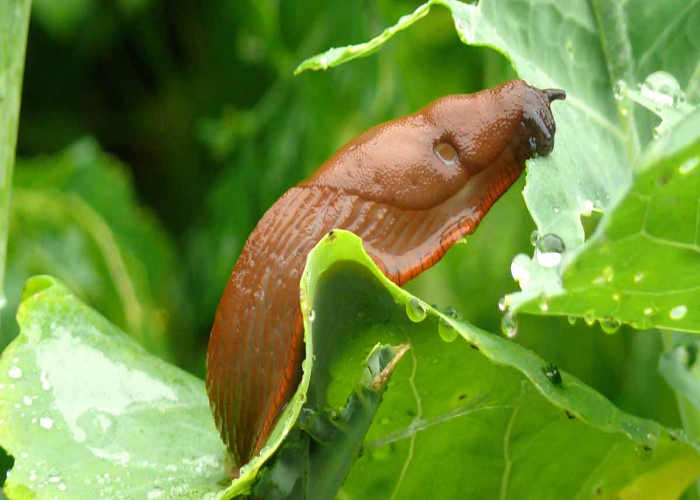
These slimy creatures can rot your plant whole. They produce small holes and secrete harmful juices on plants’ leaves. Handpicking them or using copper plant collars can keep slugs and snails in control. You can also apply a wide strip of food-grade diatomaceous earth to act as a barrier for your plant. Avoid thick bark mulches and drenching the plant in water.
Black Rot
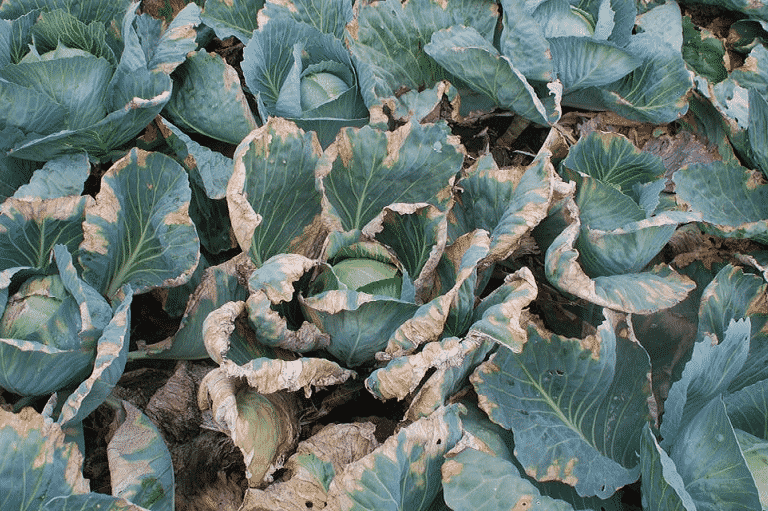
Black rot disease turns leaf veins to darken and produce a terrible smell. The infection is so strong that it can affect the plant’s vascular system, leading the whole plant to die. In this case, prevention is the best cure. Using well-drained soil, avoiding overwatering, and removing infectious plants will reduce the chances of black rot. Practising crop rotation also works well by keeping diseases at bay.
Clubroot
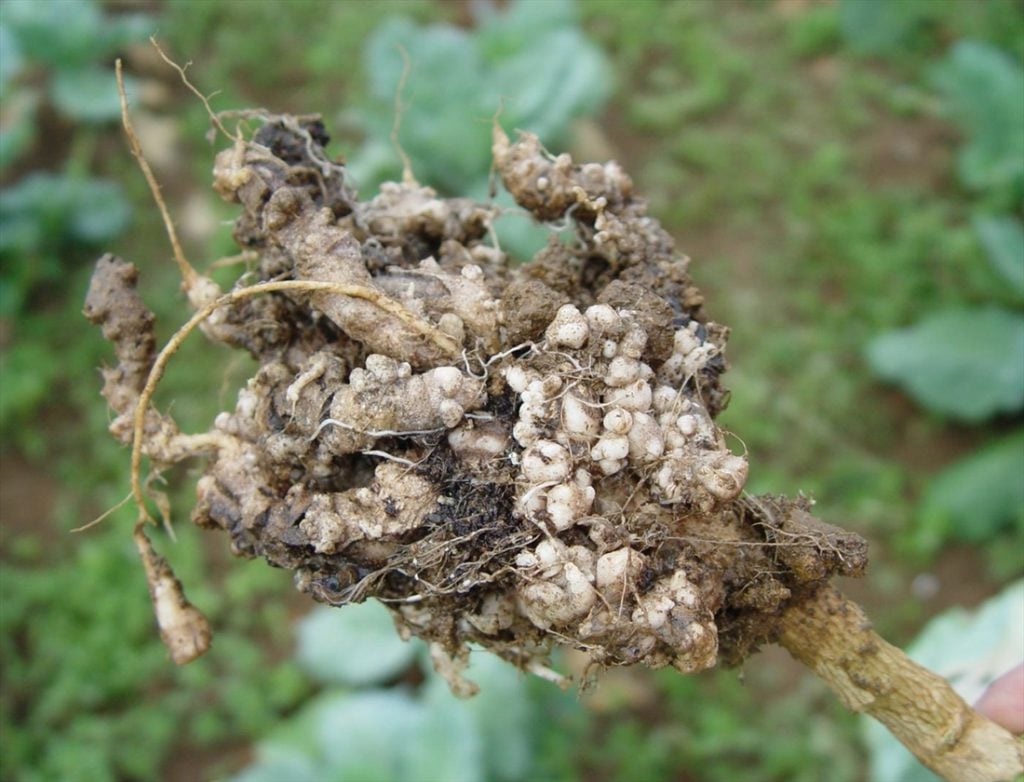
It is a soil-born fungus that can take down all the cabbages in seconds. It starts with roots deformation that prevents them from soaking nutrients and water. Eventually leading to withered or brown leaves. This disease can live for ten years in your soil and spread slowly. So, using low pH-level soil and adequate watering are the only things you can do to reduce the risk of infection.
Downy Mildew
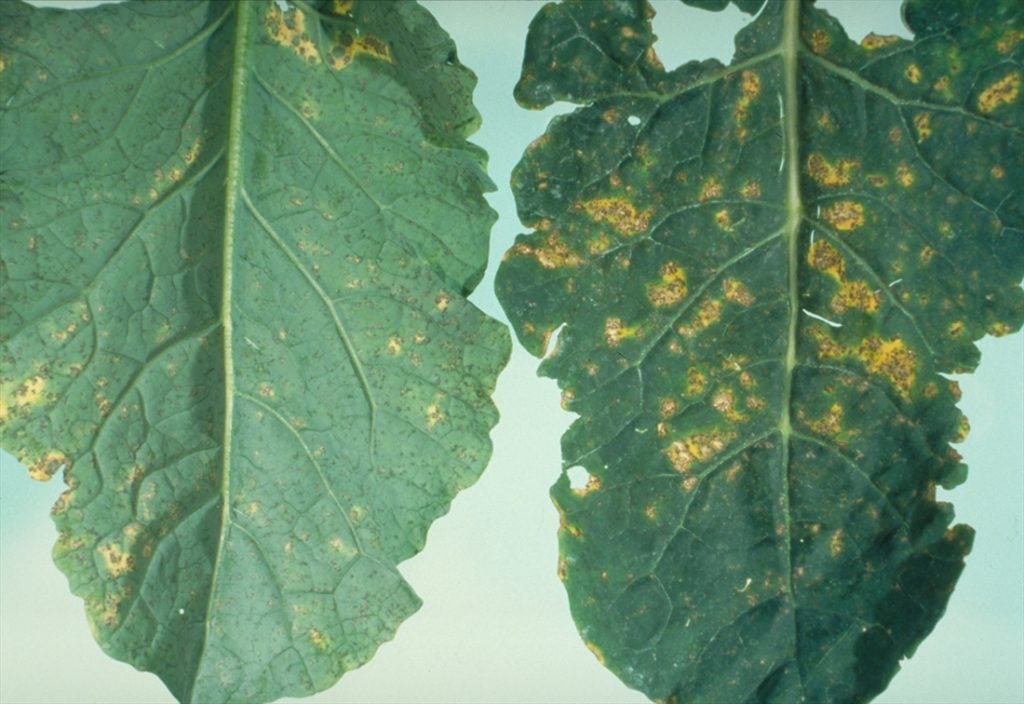
Downy Mildew is another fungal infection that spring cabbage needs protection from. Its common symptoms are wilting or browning leaves or coloured-cottony growth on the undersides of leaves. If your plant has caught this infestation, there’s no going back. Avoid overwatering, maintaining air circulation and choosing a disease-resistant plant are some precautions you can take.
Summing Up!
Planting Spring Cabbage in your garden is clearly a superb idea as they are very nutritious and flavoured vegetables. Remember to breed the seeds in July-August to have them harvested till spring.
Use well-drained soil with good-quality manure and do adequate watering. Don’t oversoak the plant as it will attract diseases and pests, damaging your plant. And keep a lookout for bugs and infestations. Once the plant is matured, take the head out and enjoy your favourite spring green meal.
So, grow your own spring greens with these amazing tips and tricks. And, have a cabbage party with your friends and family. Do tell us in the comments which favourite cabbage recipe you love to cook the most.
Frequently Asked Questions (FAQs)
Which Is the Best Spring Cabbage?
Pixie is by far the best spring cabbage to plant. They come with a hard, crispy green head and juicy internals. They even mature early than the rest and turn into little 5-inches heads. And they come in a perfect everyday meal size to quickly devour.
What Is the Best Month to Plant spring cabbage?
Planting cabbages between July to August is considered to be the best time. If you are transplanting the seeds, do it in May or June. You can sow seeds in May and then transplant them later in June or July.
What Is the Difference Between Regular Cabbage and spring cabbage?
Spring Cabbages are much younger and tender, with loose heads and thick green leaves, unlike regular cabbages. They are less sturdier and taste much sweeter and fresher than other pale green cabbages. However, both common and spring cabbages belong to the same Genus Brassica.

![Step-By-Step Guide on How to Grow Asparagus [UK]](https://staging.thearches.co.uk/wp-content/uploads/How-To-Grow-Asparagus-Plants.jpg)
